Re-assembly
A SBT fitting can be disassembled and reassembled many times. Remember that the system must be de-pressurised before working on SBT lines and/or fitting etc.
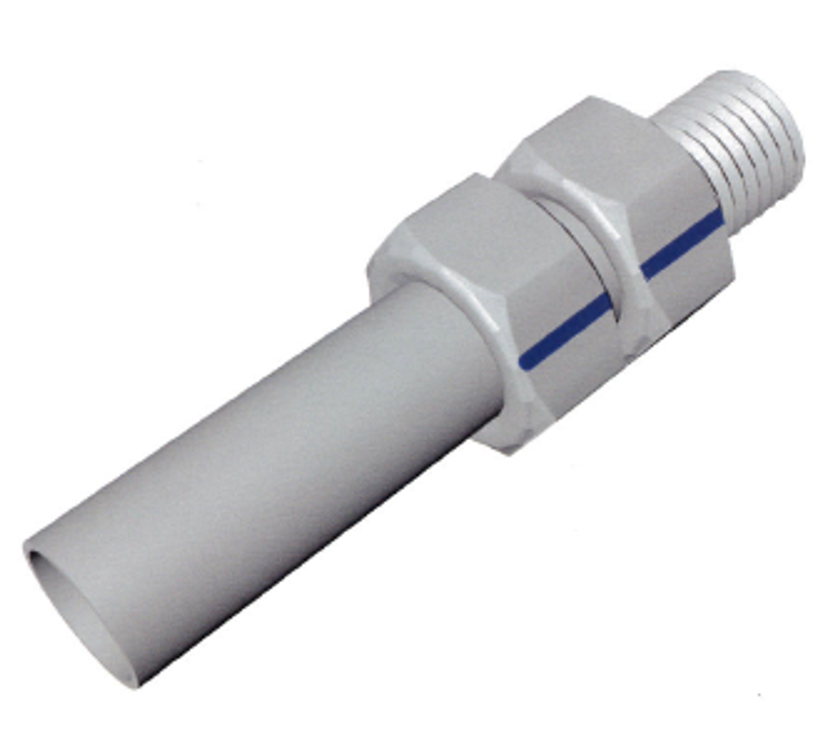
Before disassembling the fitting, mark a line on the tube at the back of the nut and along the nut and body flats. These lines (blue line on the diagram) show when the fitting has been pulled up to its previously tightened position once it is re-assembled.
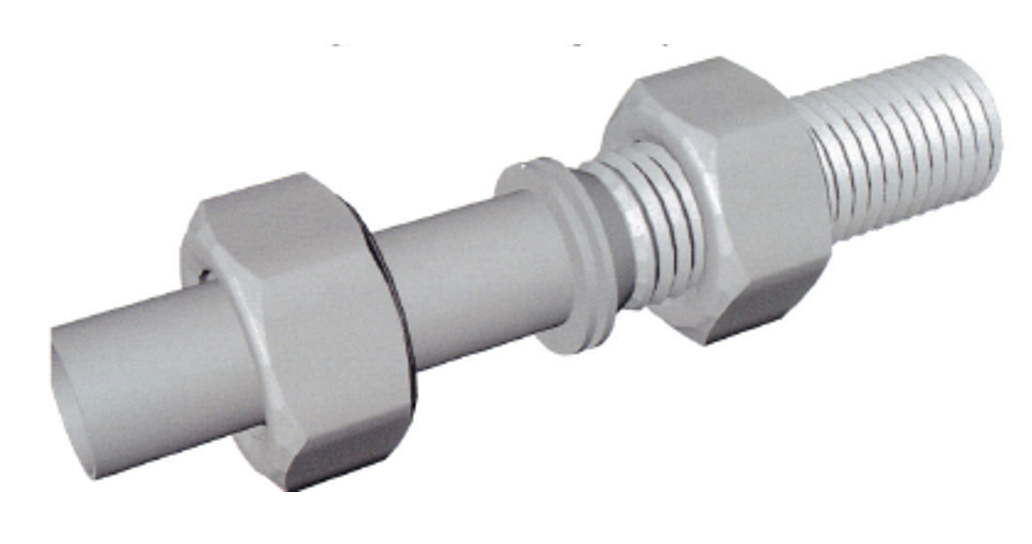
Insert the tube with the already swaged ferrule into the fitting body making sure it bottoms out so the front ferrule sits against the fitting body.
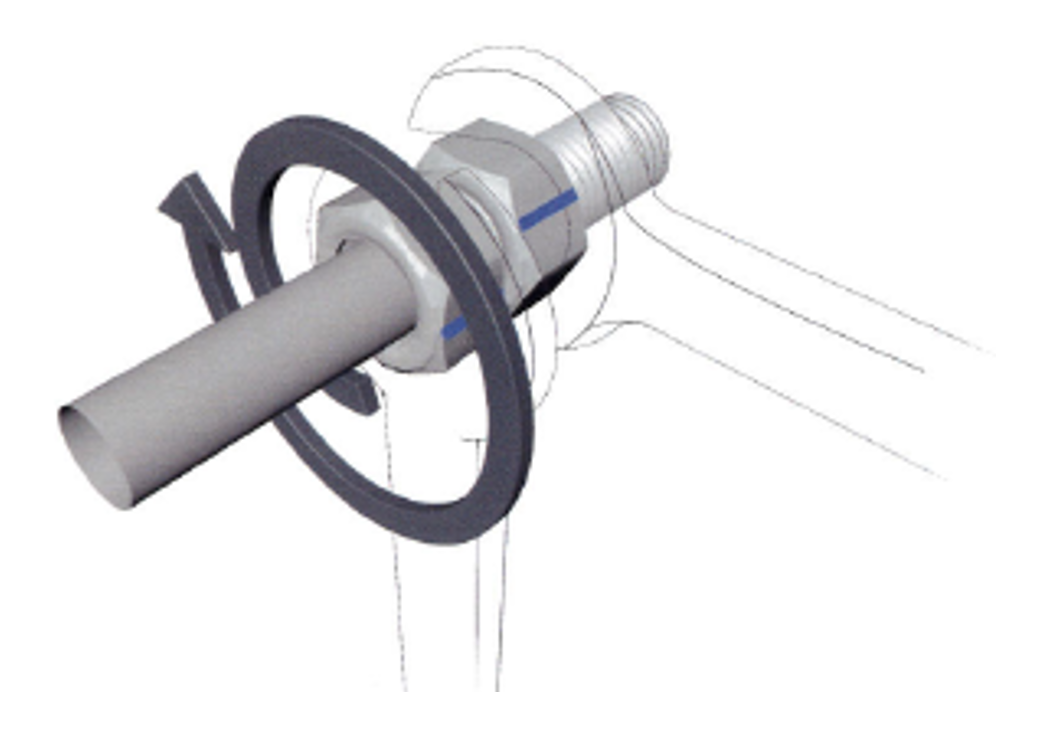
Hold the fitting body steady and using a spanner rotate the nut until the lines on the nut and fitting body align, this ensures the nut has been pulled up to the previously pulled up position. You should be feeling an increased amount of resistance at this point. Once the marks are aligned tighten the nut slightly (around 1/8 of a turn) to regain a positive seal on the tube.
The gap gauge must not be used at a reassembly (due to the original installation the gap would already be smaller than the gauge).